
.jpg)
Proper care can increase the lifespan of your shoes considerably and keep them looking like new for much, much longer. To this end, this guide contains some general advice on how to look after your footwear as well as guides for long-term care of shoes of different materials.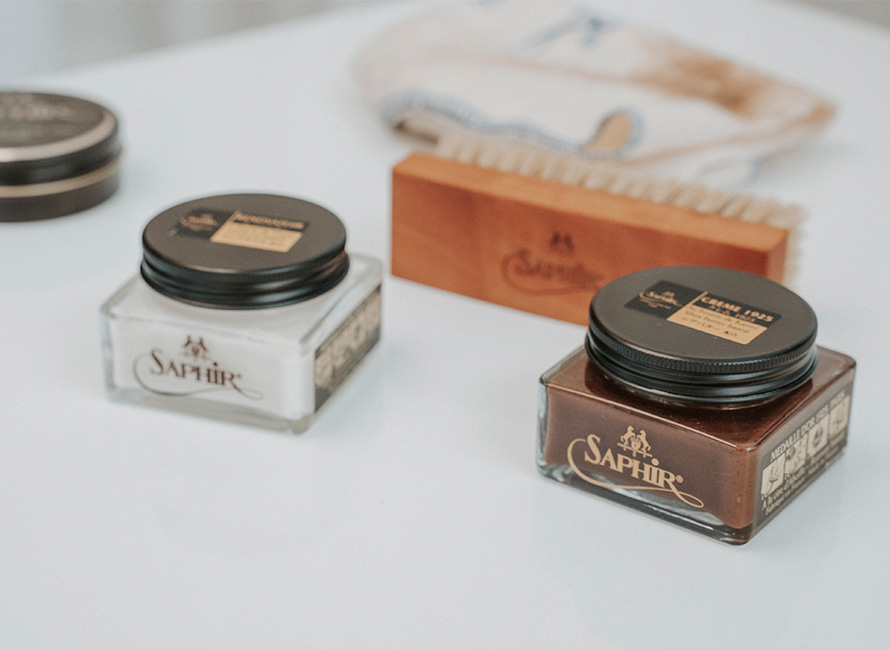
Contents
General AdviceCaring for Leather
Caring for Suede and Nubuck
Caring for Fabric
Caring for Patent Leather
Caring for Cordovan
Caring for Imitation Leather
Caring for Soles and Heels
Salt Stains
General Advice
- Use new shoes sparingly. Wear them for a couple of hours so they begin to adapt to the shape of your foot before allowing them to rest.
- Avoid wearing the same pair two days in a row as each foot generates several centilitres of perspiration a day and our shoes need time to dry out fully. One day on, two days off is a good rule of thumb. Using a shoe tree is something we cannot recommend enough as they help your shoes to keep their shape while also helping to reduce moisture. Cedarwood models are ideal, but plastic shoe trees should be avoided as they tend to trap moisture in the shoe and do more harm than good.
- Use a shoehorn when putting your shoes on. Using your fingers or just forcing your foot directly into the shoe risks damaging the backstay and heel.
- Make sure to loosen the laces considerably when putting on or taking off your shoes, as this can significantly reduce the amount of wear and thereby extend their lifespan.
- If your shoes should get particularly wet, avoid drying them using direct heat as this can cause the leather to split. Instead, fill them with newspaper to absorb the worst of the moisture before leaving them to dry at room temperature. Insert a shoe tree once dried to prevent them from becoming misshapen.
- Be careful when walking longer distances over wet surfaces in leather-soled shoes as they cause significantly more wear compared to dry surfaces.
- Finally, remember to clean, treat and waterproof your shoes regularly as this will considerably extend their life while giving them an elegant patina. Keep in mind that new shoes only come with rudimentary waterproofing and should therefore be properly waterproofed before wearing. When cleaning your shoes, don't forget any leather soles.
Before You Start
As a rule of thumb, most shoes will require some attention after around ten uses. Depending on how often you wear them, they may only need to be maintained once every two to three months, if that. Of course, this depends on the amount of shoes in your collection and how often you switch between them.
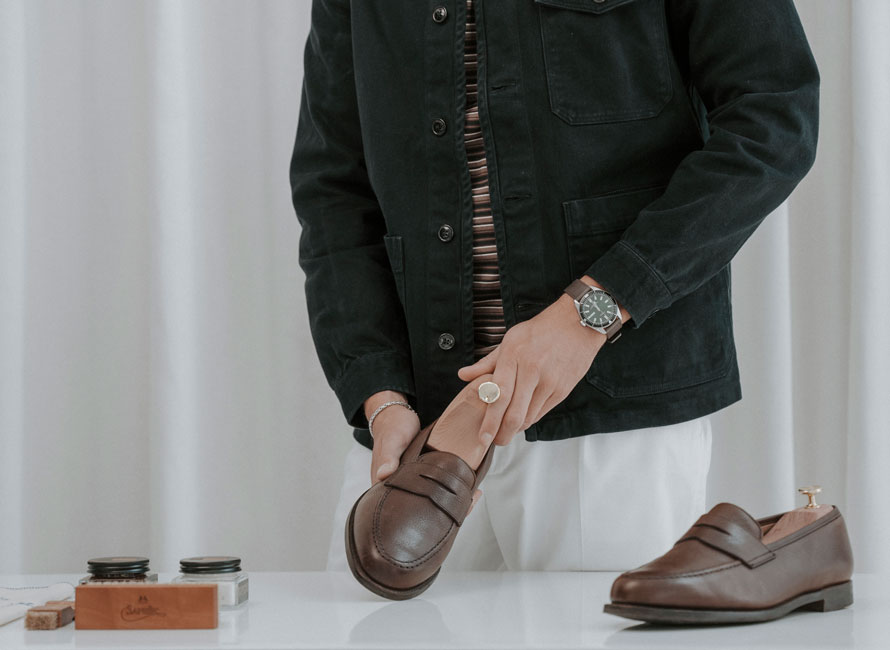
Before you start, it is always a good idea to insert a shoe tree.
Whatever the material of your shoes, you should insert a shoe tree before beginning your shoe care routine. A shoe tree will press out creases that would otherwise make it difficult to evenly apply shoe care products and will also provide a more stable surface. Laces should also be removed prior to cleaning as they can easily get in the way.
After you have done this, use a brush to remove dust and other dirt from your shoes. This will remove loose dirt that could otherwise damage the leather or hinder the shoe care products from sufficiently penetrating the leather.
Equipment
The equipment you will need largely depends on what shoes you own. The equipment needed for each stage is indicated in the following sections.
One important thing to remember when buying shoe brushes is to not re-use the same brush with multiple care products. In particular, you should make sure to use a separate applicator brush for each cream and wax you plan to use, to avoid mixing colours or have two products cancel each other out from being mixed together on the brush. Polishing brushes can be used more flexibly – it is often enough to have one each for light brown, dark brown and black polish. The same principle applies to suede brushes where you will need a few different brushes for lighter and darker colours.
It is generally a good idea to place an old towel or apron over your knee when caring for your shoes as things may get sticky.
Caring for Leather
Before you start, insert a shoe tree, and use a brush to remove dust and dirt. With this done, it is time to begin the shoe care process. As a general rule, shoes require care after about ten uses to keep them looking and feeling their best. In addition, it can also be a good idea to use a leather cleaner such as Saphir Renovateur every fifth or sixth time you clean and polish your shoes.
Leather Cleaning
Equipment-Cleaning cream
-Applicator brush
-Polishing cloth
The cleaning stage removes old, excess shoe cream. As a guide, it can be a good idea to clean your shoes in this way after every fourth or fifth polish, as shoe cream can accumulate on the leather and prevent new cream from permeating the material.
Use an applicator brush to apply a very thin layer of cleaner to the shoe – the total amount used per pair should be about the same size as a small coin. Upon applying the cleaner, your shoes will likely appear to become slightly darker, which is completely normal and nothing to worry about. Leave the cleaner to take effect for around five minutes before gently removing it with a cloth. You will soon notice that the cloth becomes dirty from excess shoe cream. To ensure all of the excess cream has been removed, use your forearm to check the shoe is completely dry. If it is, you can then move on to the next stage.
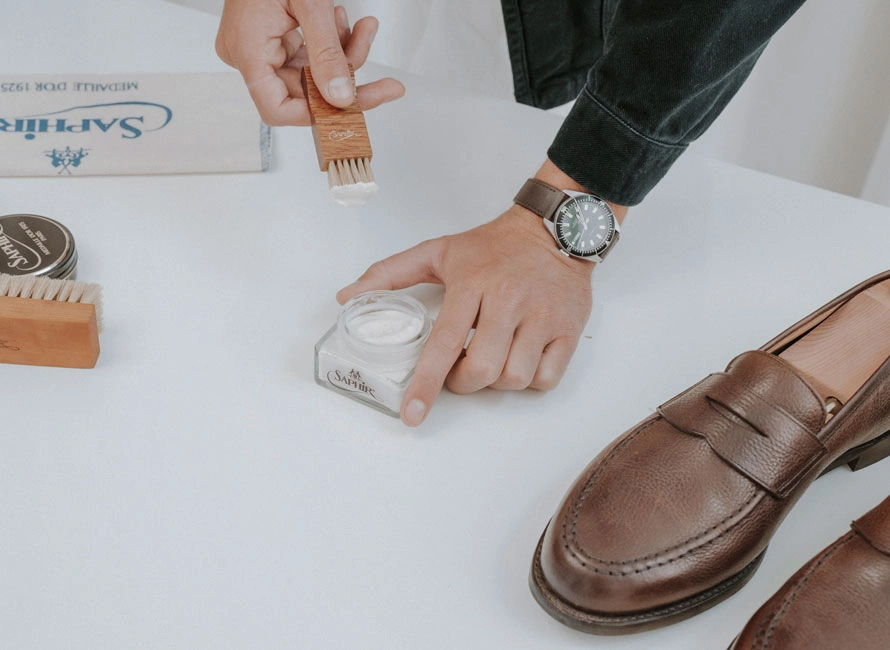 Start with a very small amount of shoe cream, which is often more than enough.
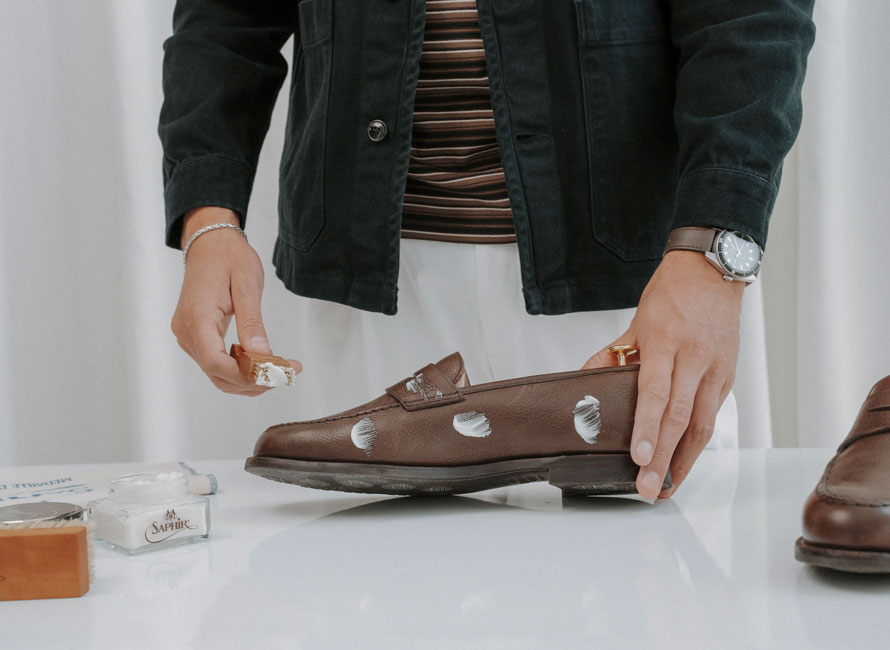 Dab and brush the cream onto the shoe.
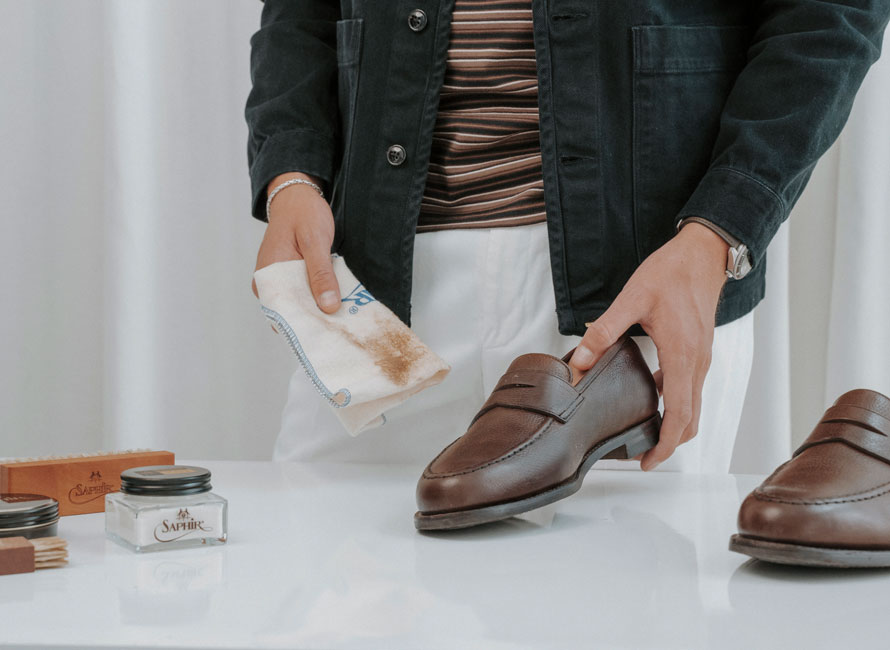 The cloth used to wipe the shoe will soon accumulate a lot of excess shoe cream.
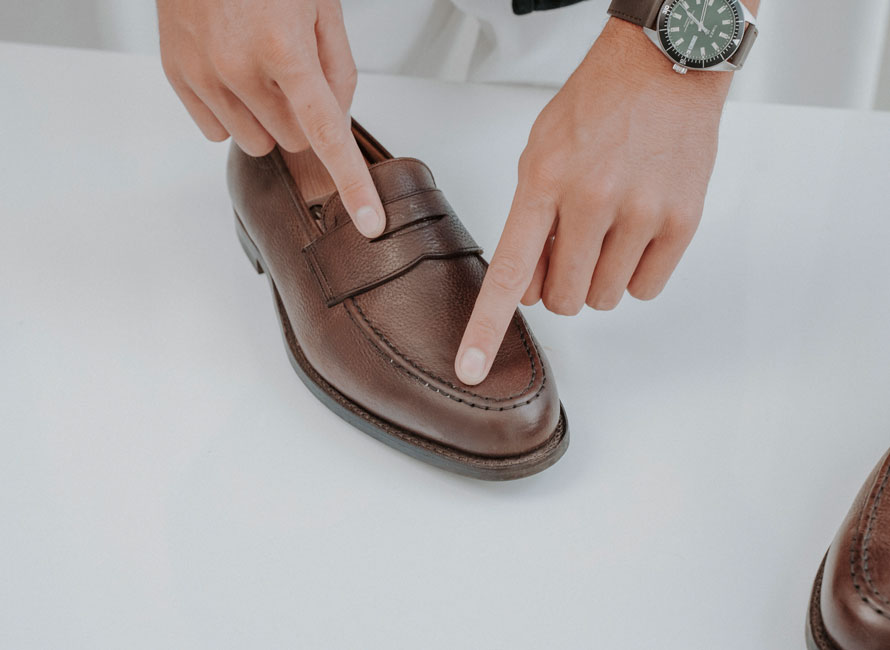 Take care to clean even hard-to-reach corners such as brogue patterning and the material around the sole.
Leather Care
Equipment-Shoe cream
-Applicator brush
-Polishing brush (horsehair works best)
To give your shoes the best possible care, we recommend treating them with a protective shoe cream after every ten uses. For best results, we suggest Saphir's Crème Pommadier 1925 as it protects the leather while restoring its lustre.
Begin by carefully dabbing a very small amount of cream onto the shoe with an applicator brush. The total amount used per pair should not exceed the size of a small coin. Be aware that Crème Pommadier 1925 contains a relatively large percentage of pigment, and it is therefore important to use it very sparingly so as not to distort the original colour of your shoes. As with all shoe care, less is more.
Unpigmented shoe creams are also available, but these should be used with caution as repeated use can give your shoes a less than attractive grey tinge.
Once applied, you can begin to spread the cream using the applicator brush, ensuring an even layer over the whole shoe. Avoid circular motions and follow instead a figure of eight as this is easiest on the leather. Leave the cream for 2-5 minutes to take effect before gently brushing the shoes with a horsehair brush. When the shoes begin to look polished, you can increase the pressure somewhat to add a little more shine. Avoid repeatedly brushing the same area as brushing too hard may cause friction damage and dark spots on the leather.
When finished, the brush should be dry to the touch, provided you haven't used too much cream. If you want your shoes to have even more shine, you can then treat them with a wax, which we describe in the following section.
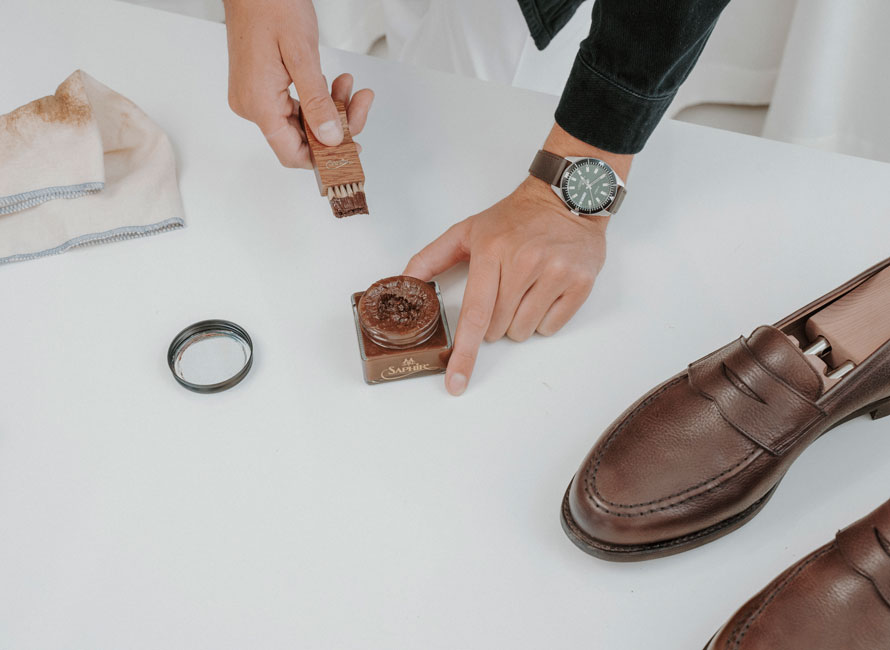 Only a very small amount of cream is needed to get the best results, so use sparingly.
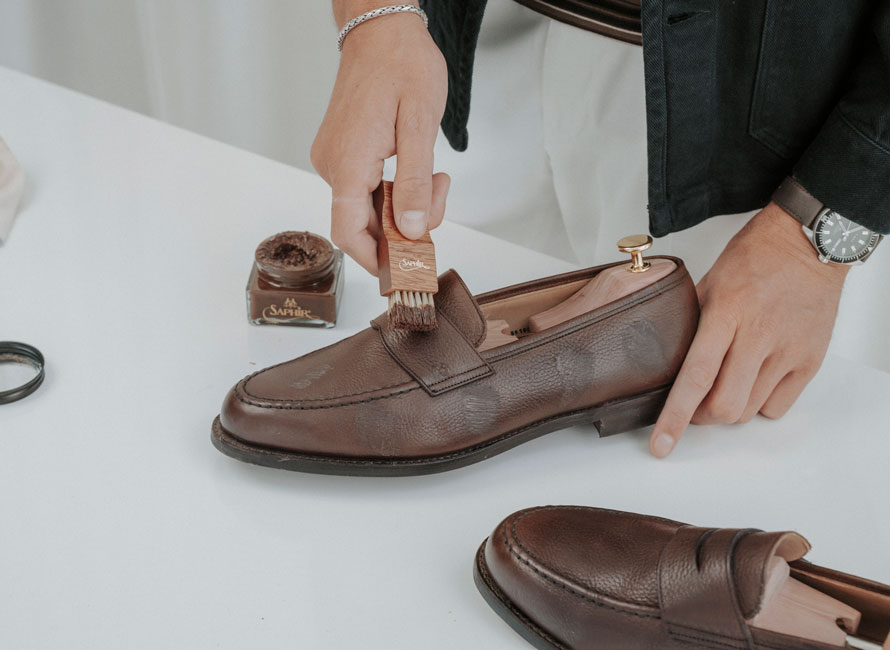 Dab a small amount of cream onto the shoe before spreading it evenly with a brush.
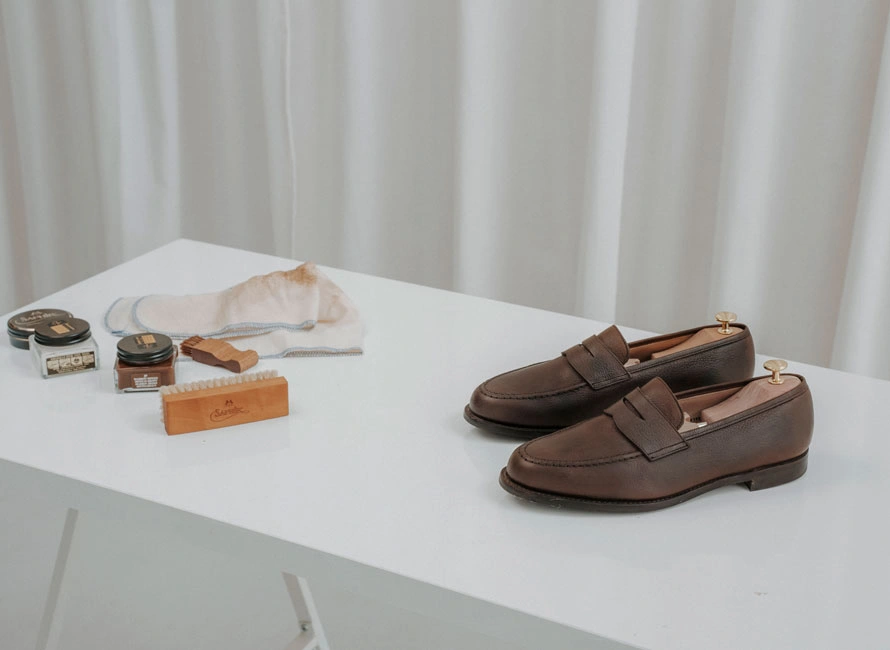 Your shoes will appear somewhat matte after having applied the cream. Leave the cream to work for a couple of minutes.
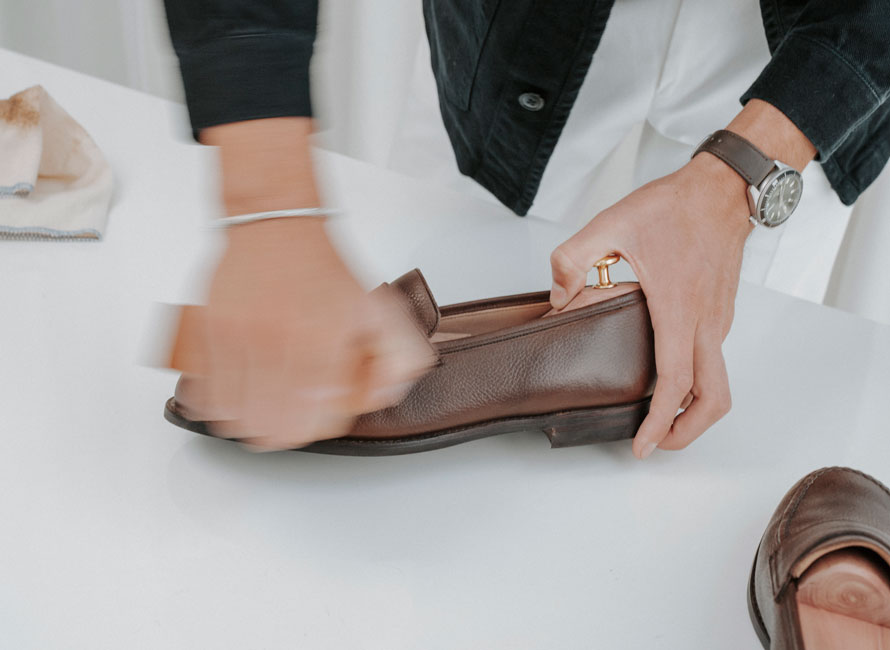 To bring out their shine, use a polishing brush.
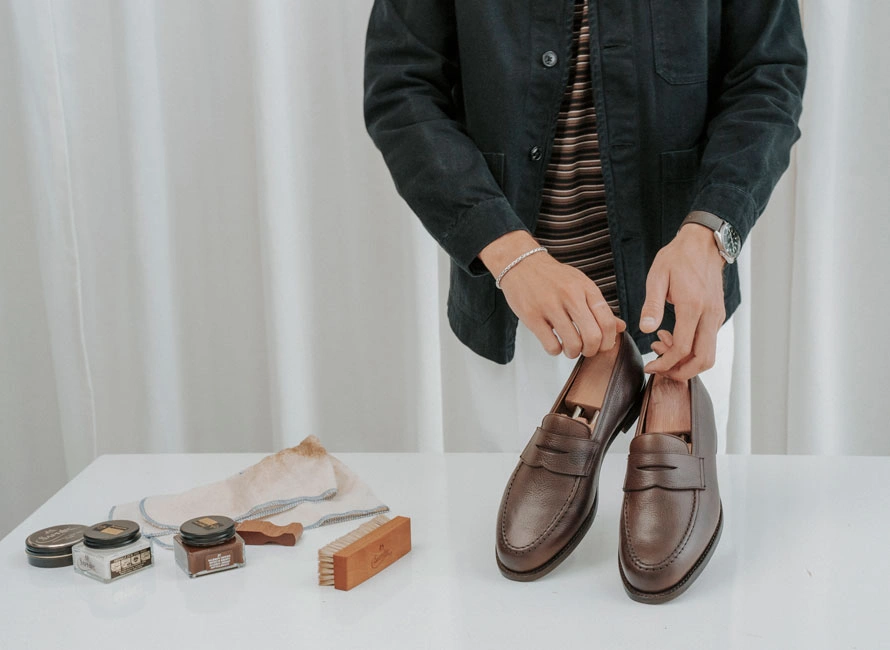 The final result after treating with Saphir Crème Pommadier 1925.
For a Little Extra Shine
Equipment-Wax
-Applicator brush
-Polishing brush (goatshair works best)
To give your shoes that little bit more shine after using shoe cream, we recommend polishing them with a wax cream such as Pâte de Luxe from Saphir. Since wax is primarily used for polishing, it does not offer much in the way of leather care. For this, a shoe cream such as Crème Pommadier 1925 is a better option.
Start by brushing a thin layer of wax over the leather. When the polish begins to take effect, you will notice that your shoe takes on a slightly greyish appearance. Leave the wax to work for at least five minutes, sometimes it can even be left on overnight. Gently brush the shoe, preferably with a goatshair brush as this will result in the best shine. A nylon sock or horsehair brush can also be used but without giving the quite the same polished look.
Wax can even be used to add extra shine to the sides of the sole.
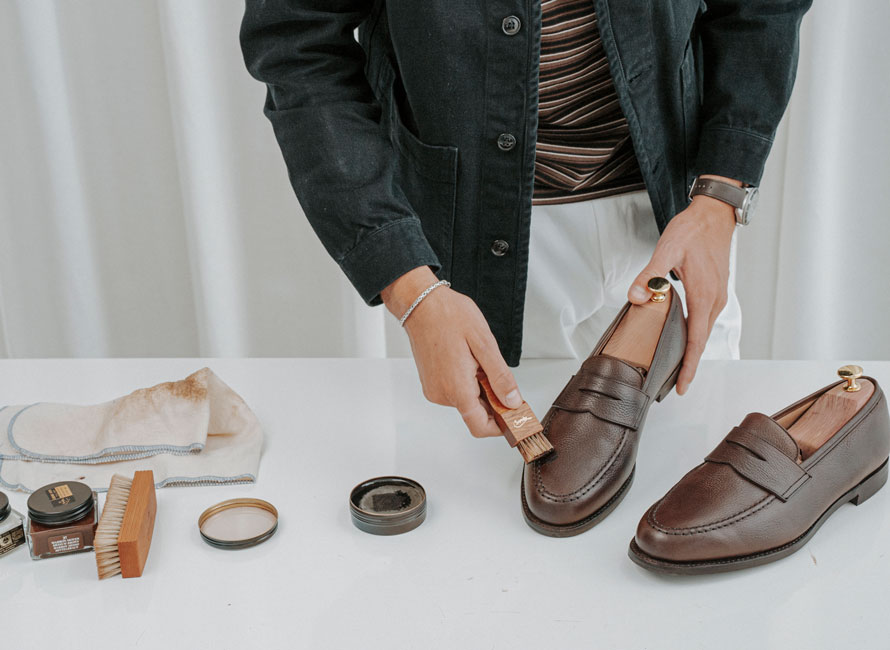 Gently brush the wax over the shoe.
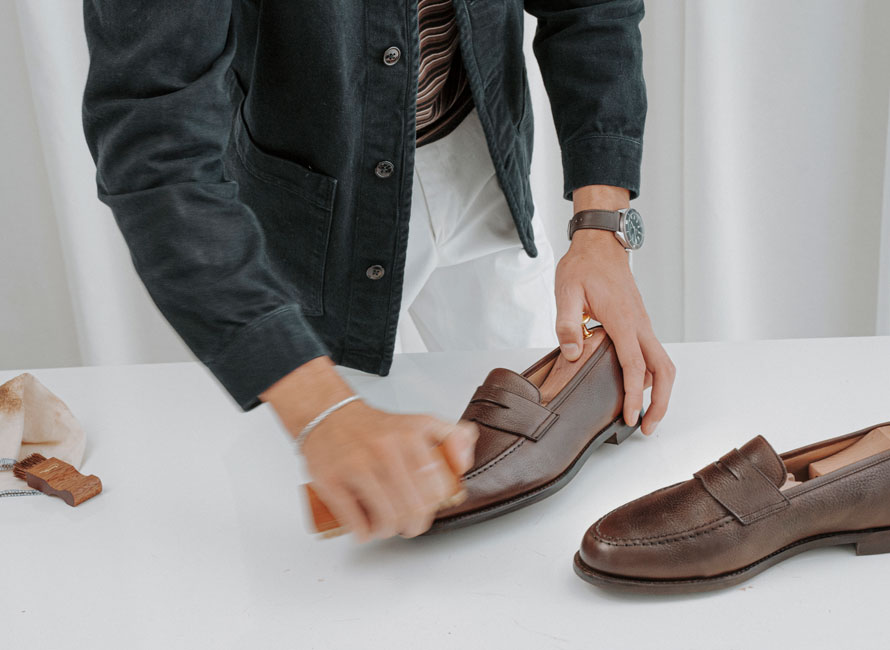 Polish up to a fantastic shine with a goatshair polishing brush.
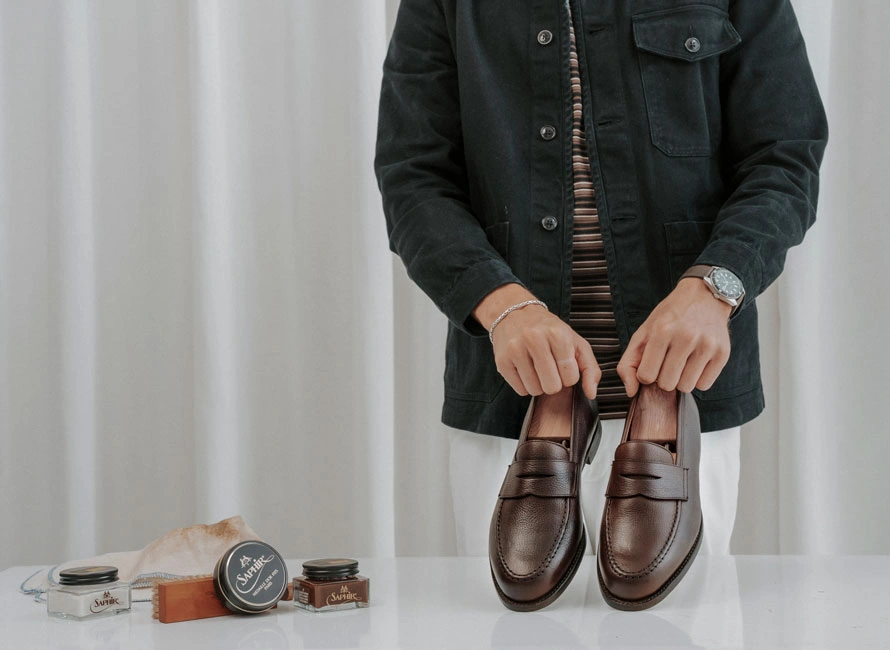 Newly polished Buckingham shoes from Loake 1880.
Caring for Suede and Nubuck
It is a common misconception that suede is harder to maintain than other materials. In fact, both suede and nubuck are some of the easiest materials to look after. In very general terms, a pair of suede or nubuck shoes will only need to be treated around once a month with a suede protector spray. This can be complemented by a more thorough cleaning once a year or even less, depending on the model. We recommend that you clean your suede shoes and then waterproof them with a renovateur spray.
See our step-by-step-guide on how to care for suede shoes here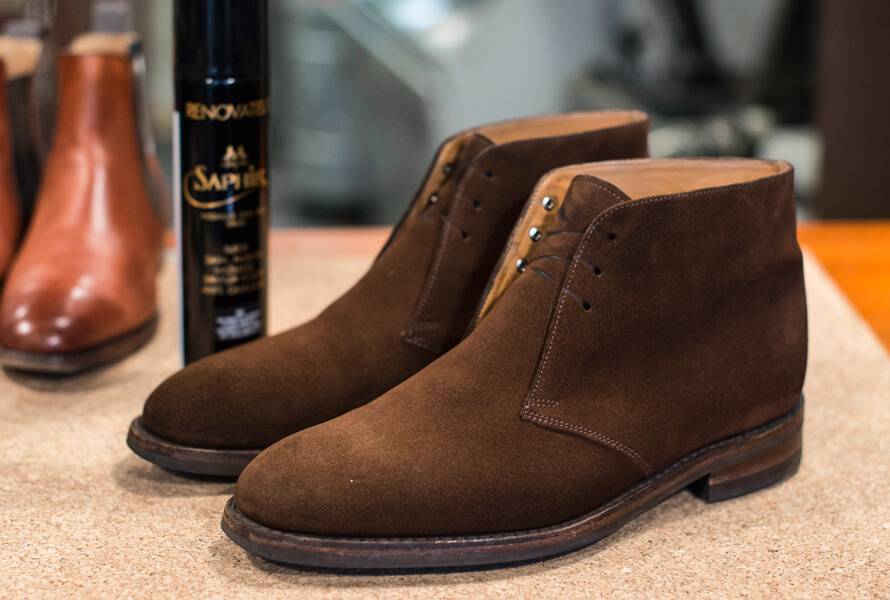
Caring for Fabric Shoes
The care of fabric shoes is largely similar to that of suede. They can be cleaned using a product such as Saphir’s Omni’Nettoyant and then waterproofed using neutral (unpigmented) Renovateur spray. For detailed instructions of how to do this, see the above section on caring for suede and nubuck.
Caring for Patent Leather
Patent leather should not be treated with any kind of spray, as the production process itself uses a coating that can become damaged if further layers are applied. Instead, they should be cleaned with a cloth dampened with lukewarm water before being polished to a shine using a cotton cloth.
If desired, wax can be applied to the sides of the sole to give a little extra shine.
Caring for Cordovan
Cordovan rarely needs any kind of cleaning or treatment as the material is already full of natural fats from the production process itself. If the leather should start to appear dull, use a deer bone to restore its shine.
Caring for Imitation Leather
Unlike animal leather, synthetic leather is not a living fabric and therefore, shoes using such synthetic materials do not usually require quite as much care as other models, neither are they able to absorb most shoe creams. However, there are still a few things you can do to touch-up their appearance.
Begin by brushing off dried-in dirt before cleaning them off with a damp cloth. They can then be treated with a waterproofing spray (see "Caring for Suede and Nubuck" above) or can be given a little extra shine by applying wax (see "Caring for Leather").
Be aware that shoes in synthetic materials should be cleaned with caution as shoe care products may cause a chemical reaction to occur in certain synthetics.
Caring for Soles and Heels
A neutral shoe cream is a great way to give leather soles a bit of TLC as it will provide an extra layer of waterproofing – particularly beneficial since the sole is the part that is exposed to the most moisture.
If the soles and/or heels of your shoes begin to look or feel worn, it can be a good idea to take them to a cobbler to be re-soled or re-heeled. This can add years to the life of your shoes.
Salt Stains
Salt stains are a recurring problem during the winter months, especially for those of us at more northerly latitudes. Taking a proactive approach is the best way to ensure the salt doesn’t damage your shoes: After having walked over salt and slush, wipe down your shoes with a damp cloth as soon as you get home. This will remove most of the salt before it finds its way into the leather. Unfortunately, removing salt stains that have permeated the leather are extremely difficult, and sometimes even impossible, to remove, so you should try to clean them as soon as possible.
With that said, a method of removing existing salt stains that can, in many cases, produce good results, is to scrub the area with a scouring pad dipped in lemon water.
Further Reading: Care of Carl's Definitive Guide to Sneaker Care

Cleaning Your Sneakers Both Quickly and Thoroughly
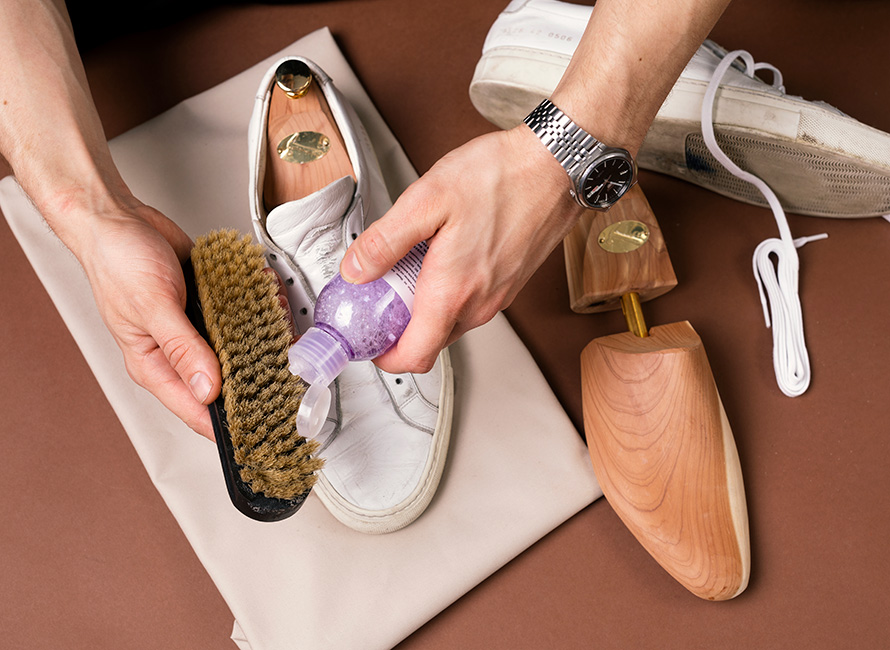
Wipe down the upper and sides of the sneaker with a slightly damp cloth, before running a damp sponge over the sides of the leather sole. This is usually enough to loosen more stubborn dirt.
Sometimes, a more thorough cleaning and restoration process is needed, especially after your sneakers have been exposed to less clement weather conditions. To do this, you will need a bowl of warm water – we recommend a temperature of about 40°C – and a shoe brush suitable for the material of your sneakers. Firmer brushes, for example, should not be used on cotton mesh sneakers as they can tear the fabric.Saphir offers great brushes for different sneaker materials and colours. In a pinch, a stiffer toothbrush can be used, though only together with a dedicated cleaning cream. For sneakers in particular, we highly recommend the Premium Shoe Cleaner from Jason Markk, a foam cleaner which quickly and effectively deep-cleans the sneaker. Shake the bottle well and apply a small amount of foam to the cleaning brush before going over the whole shoe and leaving it to dry. For leather, it is particularly important to let your sneakers dry at room temperature as too much heat can cause the leather to crack. Once dry, you can begin treating your sneakers with a shoe cream or polish developed for the specific colour and type of their leather.
Restoring the Colour of Your Sneakers
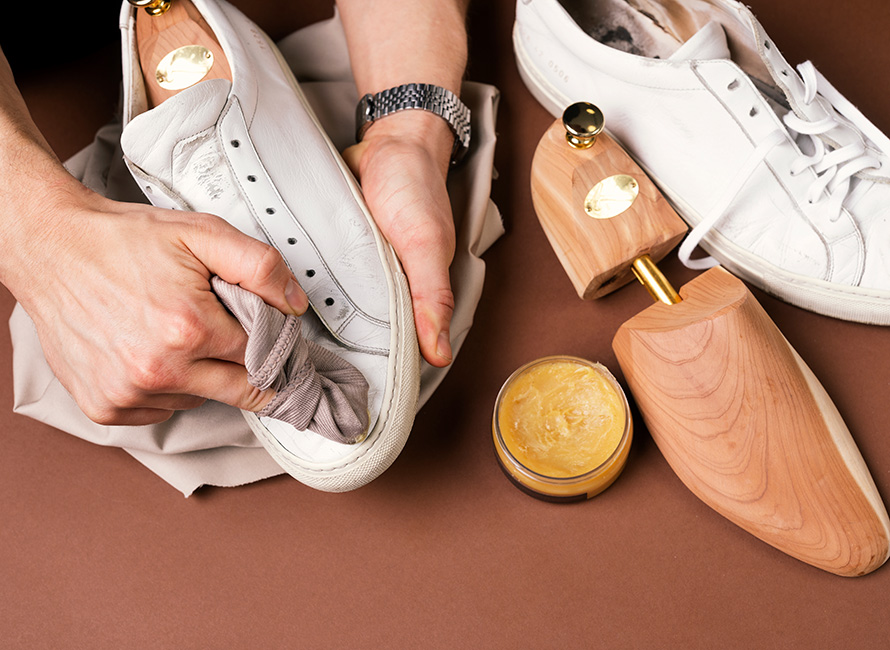
Wearing just one pair of sneakers day-in and day-out is often a false economy. Try not to wear the same pair more than two days in a row as all footwear needs time to rest and let the material breathe. For leather sneakers, not giving them time to rest can cause them to become discoloured after just a couple of seasons.
In this section of our guide, we share our best tips for restoring the original appearance of your sneakers, but this will only be effective if you follow the cleaning and waterproofing steps described above.
Place your sneakers on some newspaper or a worktable, making doubly sure that they have dried completely after cleaning them. You should also ensure that the polish you choose matches the colour of your shoes. Saphir's shoe polish comes highly recommended and is available in a range of colours, including white. Apply a small amount to a polishing cloth and gently go over the area that needs attention, using a small, circular motion. This should leave your sneakers looking almost 'box fresh' once more.
Protecting Your Sneakers
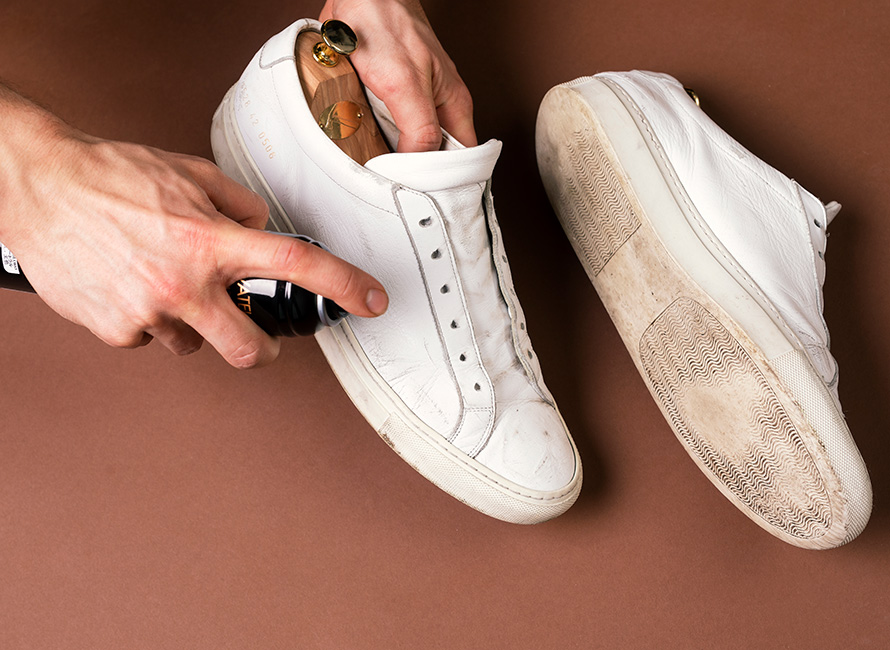
Having cleaned your sneakers and left them to dry, it is time to waterproof them. Lay some newspaper on a flat surface and, if possible, choose a well-ventilated area as waterproofing spray tends to have a rather 'powerful' aroma. For canvas sneakers, almost all brands of waterproofing should be enough. But for leather and suede, which are much more sensitive materials, we recommend a dedicated, high-quality product such as Jason Markk Repel or Saphir Renovateur. We always recommend waterproofing new shoes as soon as you get them home, even if certain stores may claim that they have already been waterproofed.
Don't Hesitate to Change the Laces
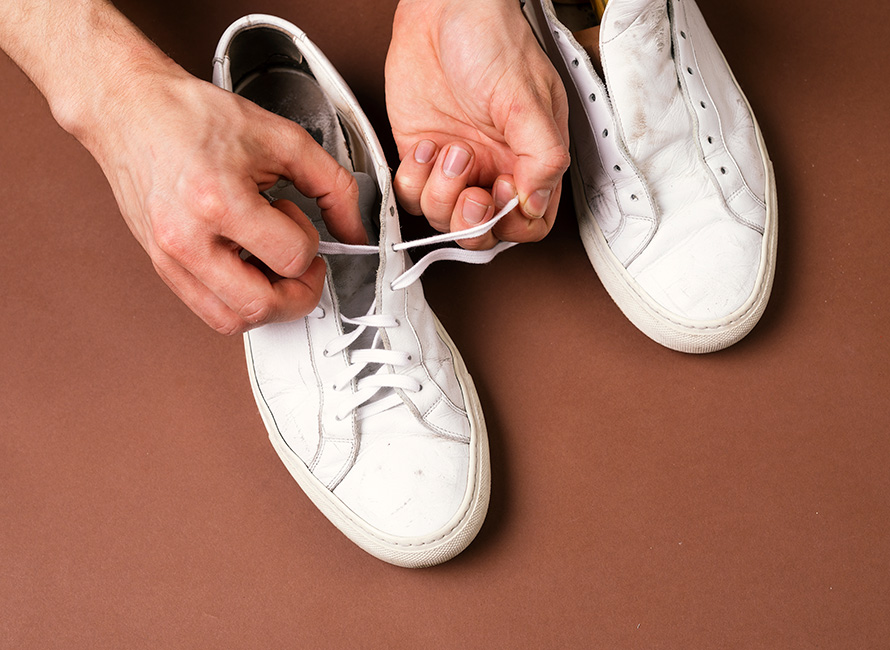
When researching this guide, we tried cleaning our laces by putting them in a bowl of warm water and bleaching them. Unfortunately, the bleach weakened the fabric significantly and gave them a slightly odd feel. We also tried machine washing them at 60°C using a washing bag, which we found to give less than stellar results. Therefore, we have to conclude that swapping out your laces for a new pair is still the best option, as this is a very inexpensive way to keep your sneakers looking their best. Many sneakers even come with a spare pair of laces in the box.
Malodorous Soles
When it comes to shoes, the most common cause of unpleasant odours is not wearing socks in the warmer months. Put simply, warmer temperatures equal more perspiration, and more perspiration equals more odour. However, we shouldn’t lose heart, as this is very easily fixed. When you get home, remove the soles, and leave them to dry overnight. Then, treat them with an antibacterial spray and allow them to dry once more. If odour is still a problem, we recommend placing your shoes in a sealed bag and leaving them in the freezer overnight – this is usually more than sufficient to eliminate any less than fragrant aromas.[SLIDER2 START]
[ARTNR='14329410']
[ARTNR='13767811r']
[ARTNR='20254410']
[ARTNR='14329510']
[ARTNR='17149511r']
[ARTNR='14330110']
[SLIDER2 STOPP]
Further Reading: Care of Carl's Definitive Guide to Shoe Care

In the editorial below, we will walk you through some of the most common ways in which your shoes get worn. Out of these, we will highlight the many situations when your shoes can actually be mended and restored, as well as those very rare occasions when the damage is beyond repair.
Re-heeling
This is most often the first repair your shoes will need to undergo. On leather soled shoes, the rear quarter of the heel commonly consists of an angled piece of rubber, and the rest is layered leather. How fast the heel wears and needs replacing varies greatly depending of the gait and stride of the wearer, and how many pairs of shoes are a part of their everyday rotation. It can be everything from a year, to several years. Re-heeling should be done before the rubber tip is fully worn down.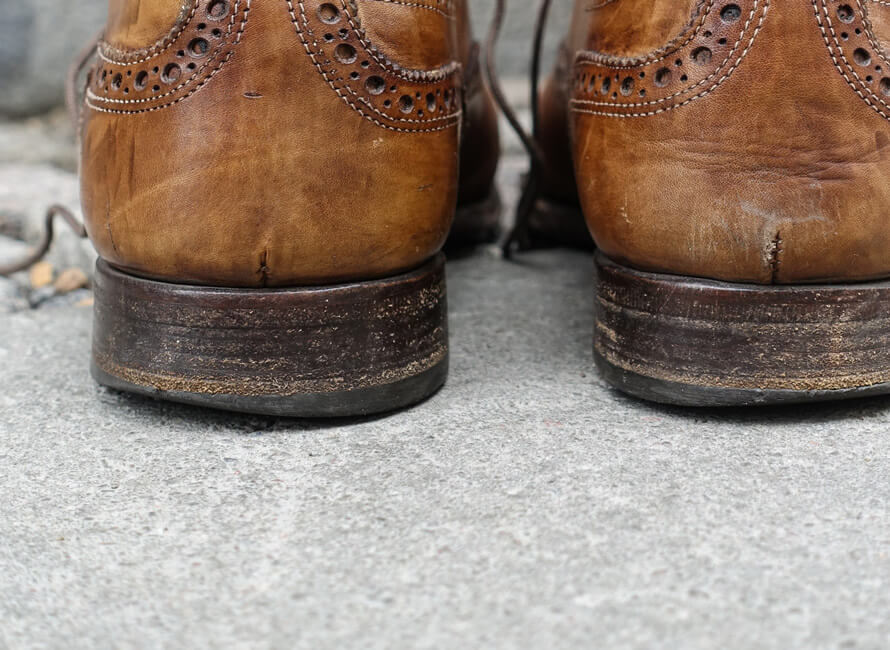
A pair of shoes where the rubber part of the heel is close to the point where re-heeling is necessary.
The layers of leather from which the rest of the heel is built from are not made to withstand the wear from walking. If these also need replacing, the procedure immediately becomes more expensive. At the time of writing, re-heeling leather soles costs about €20 to €30.
Resoling
When the sole is worn down and needs replacing on a pair of leather-soled, Goodyear-welted shoes, it is most common to replace the front half of the sole. This means that the sole stitches are cut to the middle of the shoes' waist. Together with an adhesive layer, these stitches attach the outsole to the welt. The front half of the sole is then removed and replaced, as the rear half rarely wears quickly. When the time comes for a full resole, the whole outsole is removed along with the heel which is most commonly reused with the new sole. If your Goodyear-welted shoes have a rubber sole, replacing only the front part of the sole is rarely possible as it is cumbersome to create a robust and sustainable seam between the new front half and the old rear part half of the sole.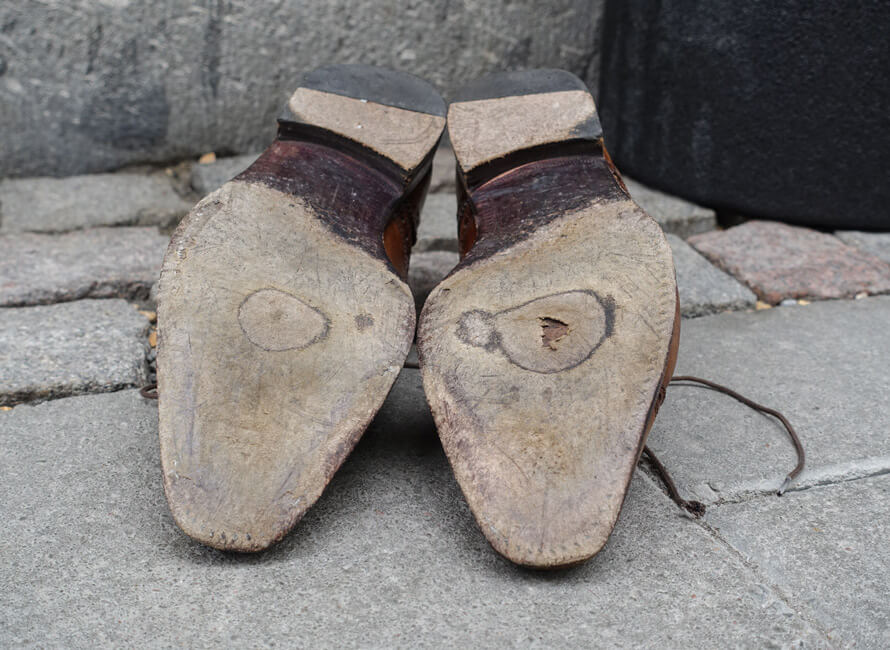
Leather-soled shoes in dire need of new soles
There is no need to worry if the welt stitching on the surface of the outsole is worn down, something that happens relatively soon around the toe. Since the welt stitching is carried out with so-called lock stitching where each stitch locks itself and the outsole is also attached with adhesive, it will still stay in place. It is of utmost importance that your outsole is not worn down so severely that the welt starts to wear, as you will otherwise likely need to replace this part as well. The welt can be replaced, but this adds a considerable cost. If only the toe area is worn, this piece alone can be replaced with a single piece of leather or rubber to further extend the longevity of the rest of the sole. When the front part of the sole becomes worn, a hole will often start to form in the centre of the sole under the toe box of the shoe, it is time to replace the whole outsole. Many manufacturers of Goodyear-welted shoes also offer factory resoling, though price levels vary greatly between shoemakers.
Replacing the Heel Lining
The leather lining of the heel counter also commonly becomes worn fairly quickly, causing a hole through to the heel counter. This is not a sign of a lesser quality shoe, but natural wear due to the way your foot rubs the inside of the shoe when you walk. This rear leather liner is also easily replaced by a skilled cobbler.
Swapping this lining is done by removing the old and worn patch, after which a new one is glued in place. The edges are finely sanded so as to ensure they will not cause chafing or come loose. Finally, the upper edge is restitched to the shoe.
Replacing Buckles or Elastic
Replacing shoelaces is easy and inexpensive, but some shoes are secured to your foot through other means like buckles or elasticated trim. A skilled cobbler can easily replace these as well if broken or lost, for a fairly low cost.
On monk shoes or jodhpur boots, the buckles sometimes break or come off. These can also be replaced in most cases, even though it sometimes may demand some unorthodox, creative stitching through the leather upper.
Cracked or Torn Leather Upper
Cracks, cuts or tears in the leather upper are the most common reason for a pair of shoes to be seen as beyond repair. These most commonly form in the creases on top of the vamp, where the shoe naturally folds when you walk. Leather uppers made of high quality full-grain leather last quite a few years before this inevitably happens. A considerable factor is, once again, how many pairs you have in rotation, and how well you care for and treat your shoes when it comes to cleaning, conditioning and polishing. Leather uppers can be patched up with pieces of added leather, but this rarely looks particularly pleasing. Hence, taking good care of the leather upper of your Goodyear welted shoes is the key to their longevity.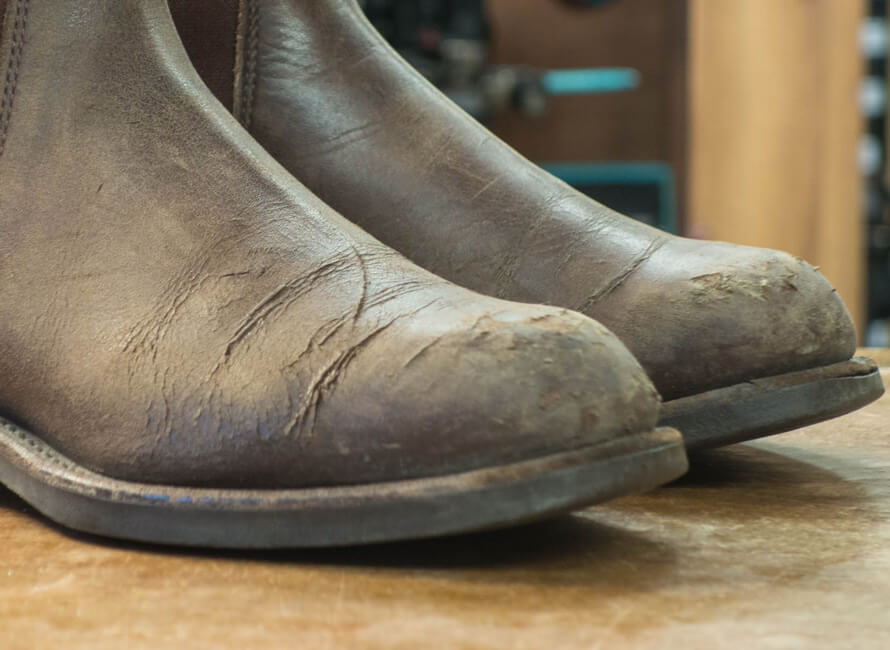
Cracks in both the creases and toe cap of a pair of leather boots.
Cracked Mid-Soles
The mid-sole can be considered as the spine of your shoe, and the relatively thick, leather foundation of a Goodyear-welted shoe. Of course, this internal part of the shoe is also prone to wear, and both wear and perspiration may eventually cause the mid sole to crack and break as well. This is one situation that is very hard to remedy. There is always a possibility of send your shoes back to the factory where they were once made. This basically results in a complete makeover, as the rest of the shoe is also most likely extremely worn at this point. The only remaining original part afterwards will be some of the leather upper. It also usually entails a cost so considerable that it, in most cases, the procedure is not worth the effort.


